How to use Pretty Normal People
Pretty Normal People gives you the person. What happens around them is up to you.
You can use the characters with whichever tools fit your workflow. I currently tend to work with Vizcom and FLUX because, in my experience, they are particularly good at retaining skin texture and small imperfections when an image is transformed.
The same principles apply to many other reference-based image tools.
01 /
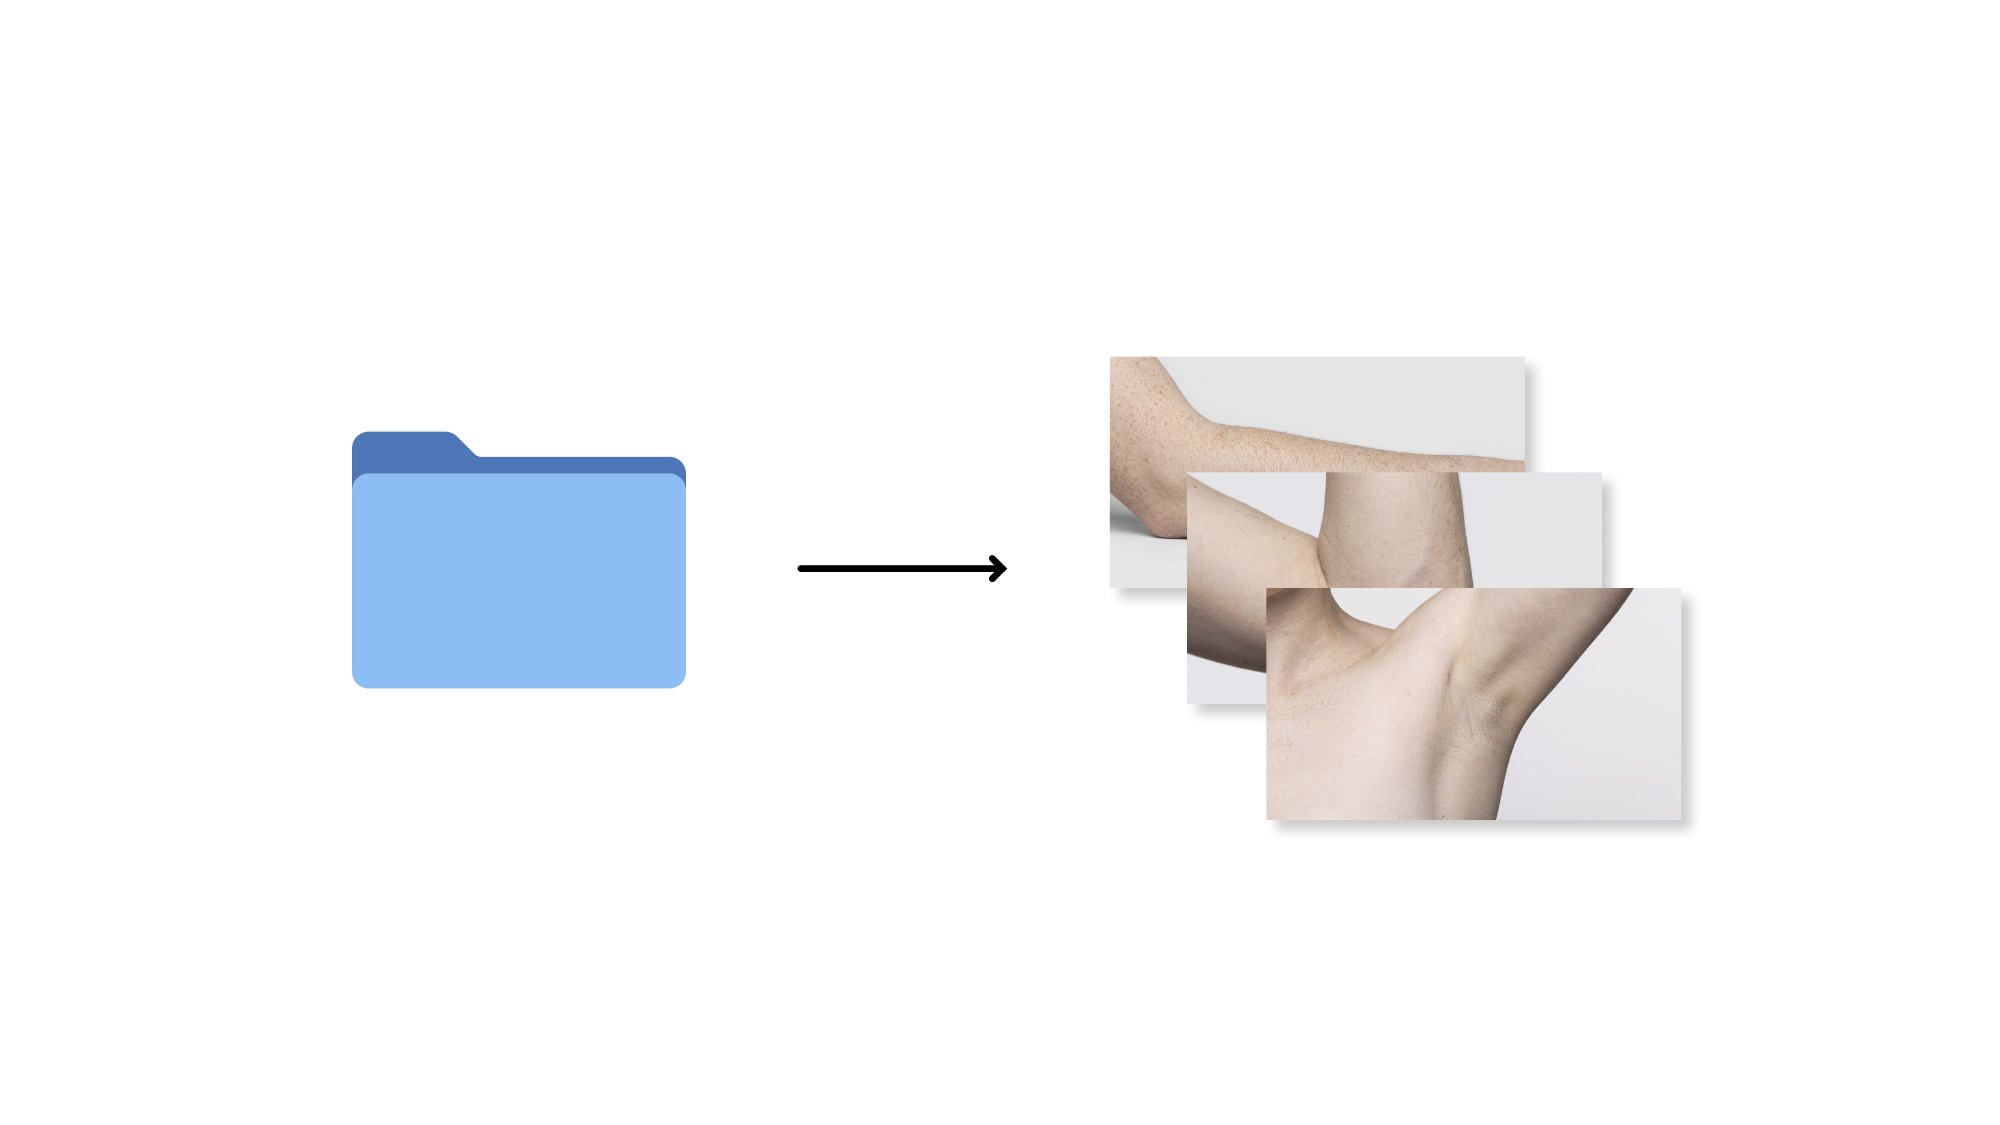
Start with a character
Pretty Normal People is made to be part of your creative workflow. The character is your starting point, and from there you can add your own clothing, products, lighting, environment and perspective using the AI tools you already work with.
I use Vizcom because it has been my tool of choice for realistic CGI for the past few years, but there are many tools that work just as well, so use the one you are most comfortable with.
The characters are intentionally shown with little clothing because this gives the model more visible information about the body, skin, proportions and pose. It is usually easier to add something on top than to remove clothing and ask the model to recreate what was hidden underneath.
02 /
Gather your references in Vizcom
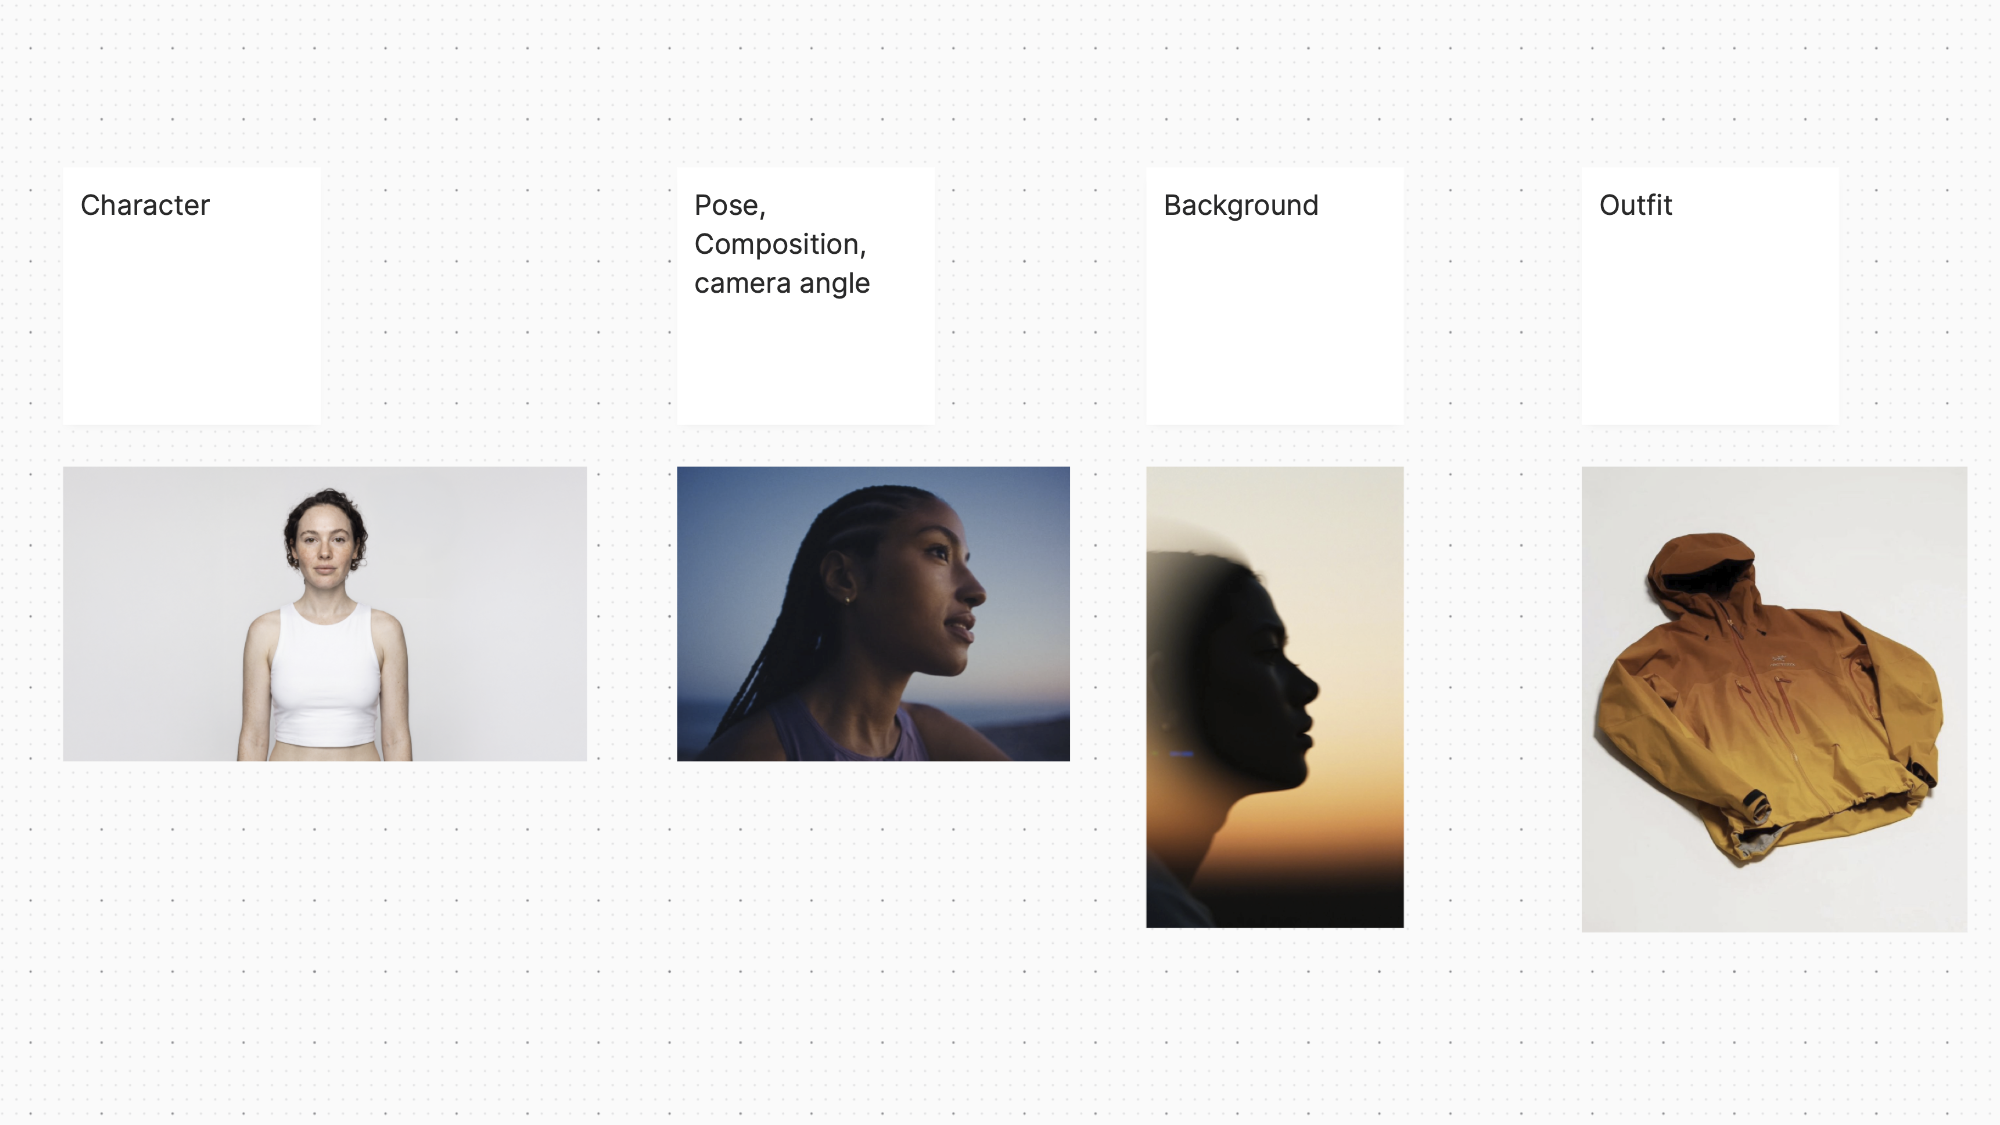
Before you start generating, collect the visual references that will shape your image: a product render, clothing, lighting, a camera angle, a background or simply a mood you want to capture. You only need references for the parts where you want more control. In my experience, a good visual reference often communicates more clearly than a long written prompt.
Place your Pretty Normal People character and those references together in a Vizcom Workbench. I keep them close together so I can see the full direction at once and refer to each image when using Modify in the next step. For now, this is just about organising the canvas, not generating the image.
03 /
Use Modify to build your image
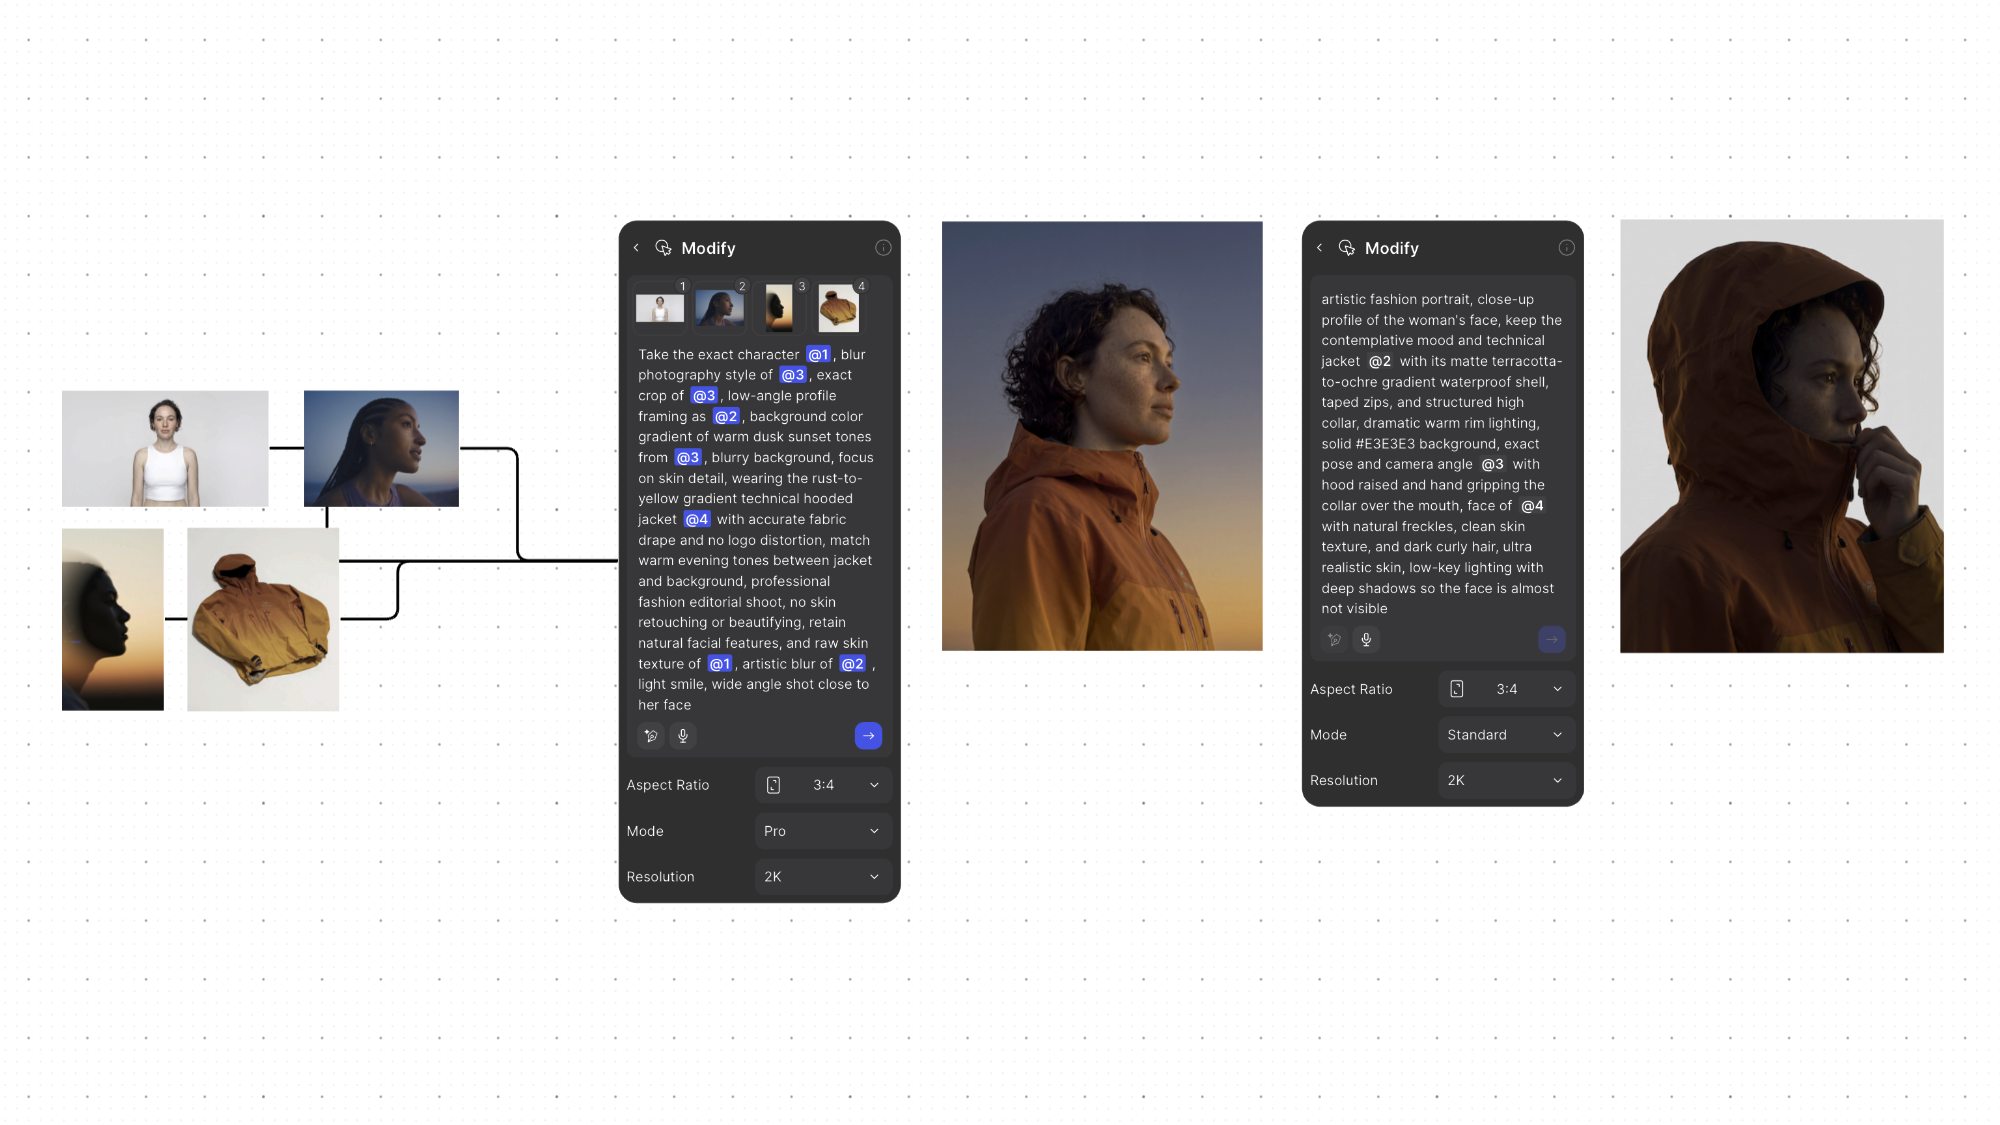
Start from the Pretty Normal People character and choose Modify. Describe what you want to create as clearly as possible and refer to images in your Workbench with `@` followed by the image number.
A prompt could be: “Dress the person in the clothing from @2, add the product from @3 to the left hand and use the lighting and atmosphere from @4. Keep the person’s age, pose and skin detail consistent.”
Try to be specific about what you actually want to see, especially when clothing, product placement, lighting, perspective or environment matter. I often use ChatGPT or Copilot to help structure a longer prompt by describing the result I want and letting the LLM turn that into a clearer instruction, but the direction itself still comes from you.
04 /
Work at the right resolution
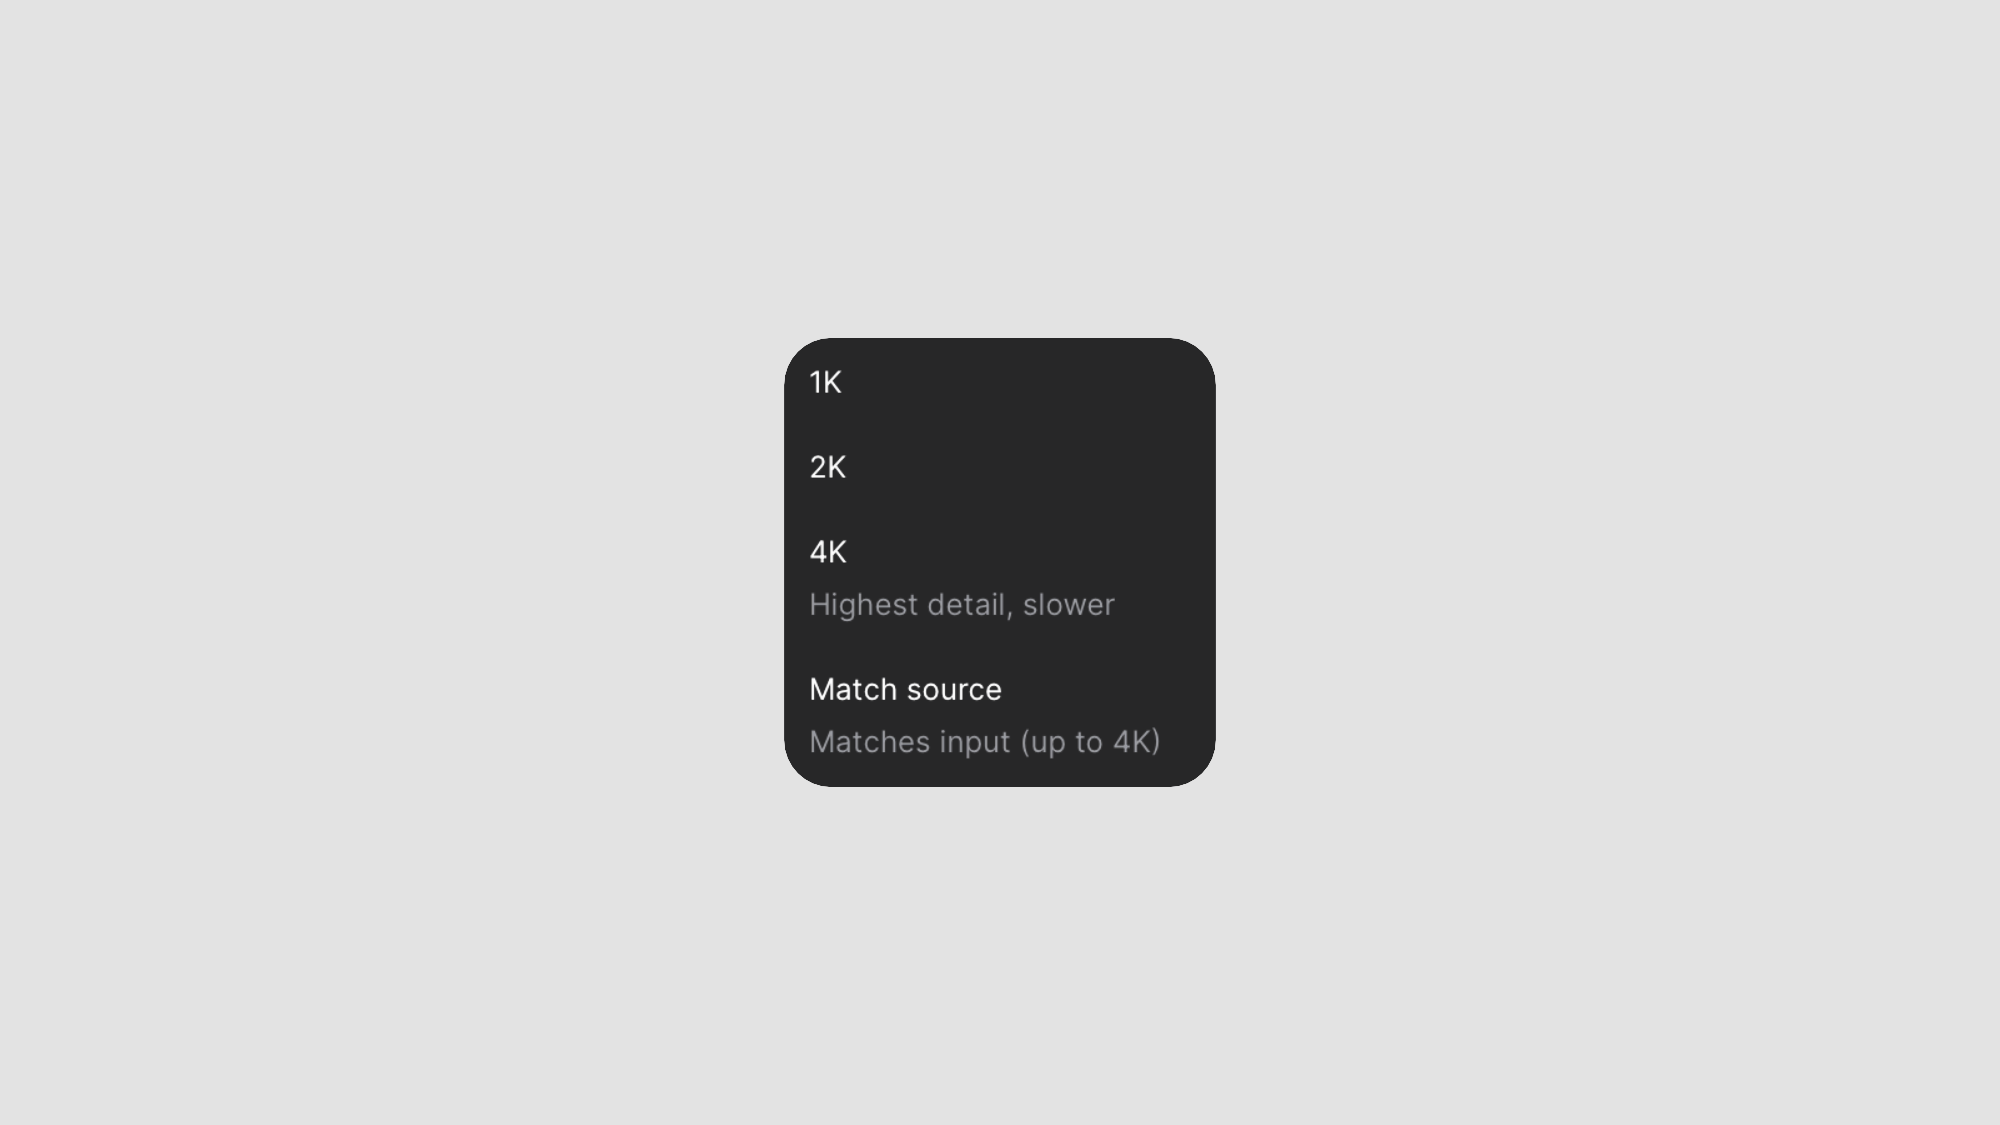
I usually explore at a lower resolution first because there is little value in generating every test at maximum quality while the composition, styling or product interaction is still changing. Once the image works, I move to a higher resolution for the final result.
In Vizcom, I usually explore at 1K and move to 2K or 4K once I am happy with the direction. Before exporting, I check the important details again, especially skin, hands and the product.
05 /
Finish in Photoshop if needed
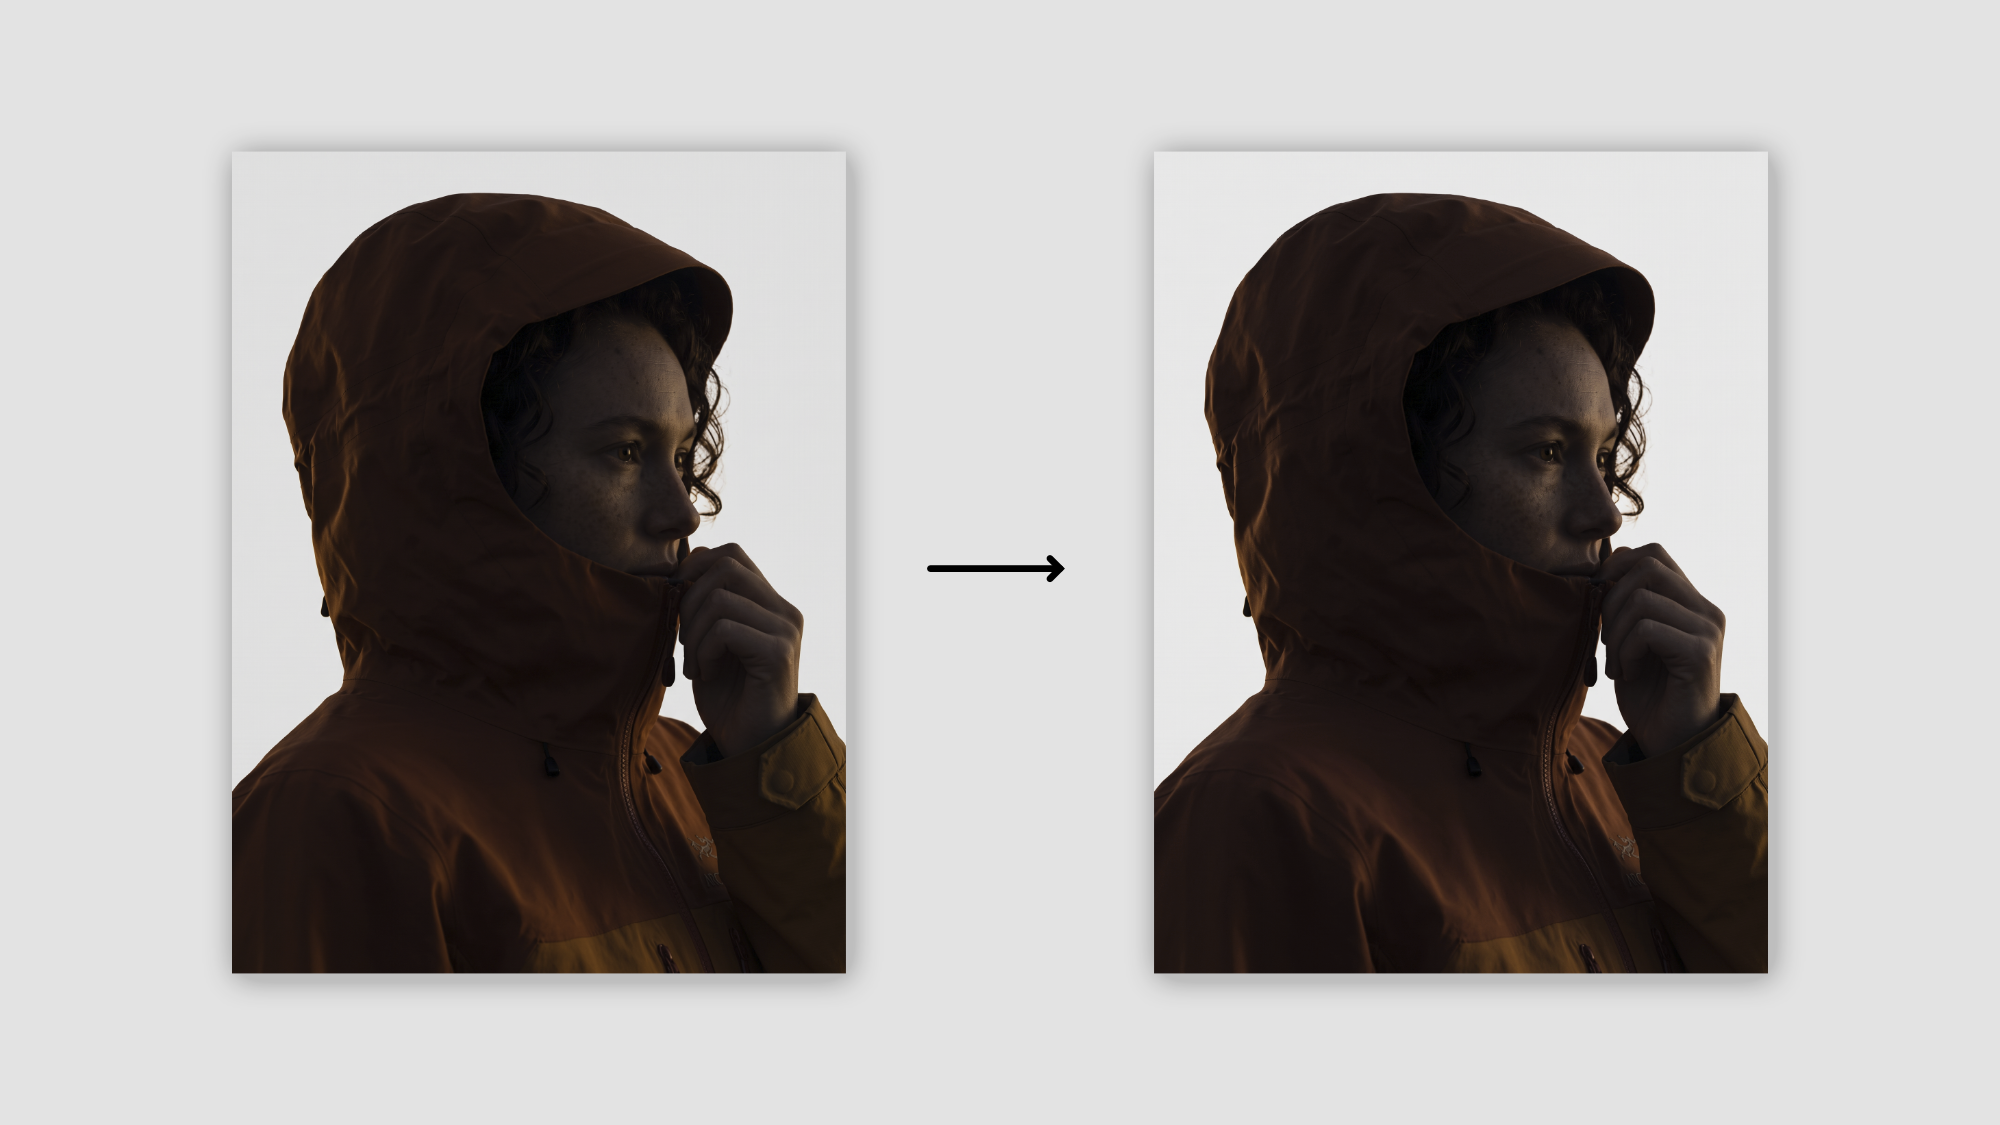
AI does not have to be the final step. I still use Photoshop for small corrections, compositing, colour adjustments, cleaning up details or making the product more precise. This is especially useful when exact product geometry, logos or typography matter.
Sometimes the Vizcom result is enough, and sometimes a small amount of manual work is what makes the image feel finished.
There is no single workflow
These are simply the principles that work well for me.
Pretty Normal People is deliberately tool-independent. Use Vizcom, FLUX or whatever becomes part of your own process.
The characters are there to give you a more human place to begin.